Prototypes are crucial for any product idea. It verifies whether the product solves the problem it was designed for before the final tooling / development costs. With a prototype in hand, you can get feedback from potential users/customers, and make adjustments or decide to scrap the product should it be necessary.
There are different types of prototypes, which vary in cost and commitment, but at a high level, they can be broken down into one of three categories: Looks like, Works like, or Works like & Looks like (most expensive). Here is a rundown on how and when to build the different types of physical prototypes, with each step offering a gut check point:
Looks like
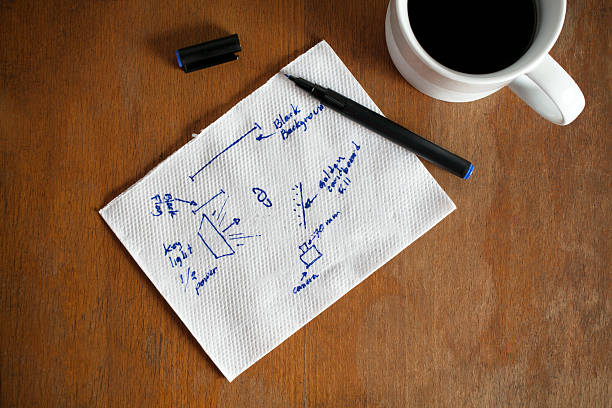
1. Sketch / Diagram (Start here):
This is the simplest of prototypes, which is an excellent start when creating a new product. They help visualize and conceptualize what the product is doing, and what usage will be like.
If the look of the product is crucial, do #2 next.
Otherwise, do #4 next.
2. Cut & Cobble:
This is making a physical model out of anything at hand: cardboard, duct tape, lego bricks, etc. It doesn’t need to be working, it just needs to be a means to conceptualize what it will look like. This will help to see if the look and feel of the product is good.
If the product has complex geometry, do #3 next.
Otherwise, do #4 next.
3. 3D CAD / 3D Print:
The advent of 3D printers has been a boon for prototyping (and occasionally, production), as it has immensely reduced the cost and complexity of getting a physical copy in your hands to test for feel and (depending on the product) function. This type of prototype has higher fidelity than the above, and goes a step further in checking if the look and feel of the product is good.
Do #4 next.
Works like
4. Feasibility Cut & Cobble:
This differs from the #2 Cut & Cobble prototype, because here the aim is to cobble something that works like the intended product regardless of looks, to see if the value proposition holds. A good example would be duct taping a diffusor over a flashlight and taping that to a helmet to see if a floodlight headlamp would be useful. For simple products (like a phone stand), this may already be done in previous steps.
If the product needs electronics, do #5 next.
Otherwise, do #6 next.
5. Breadboarding / Sprint run PCBs:
Breadboarding is an inexpensive way to combine different electronic components and see if the product performs as expected. For more complex electronics, doing sprint runs of Printed Circuit Boards (PCBs) is more costly labor-wise, but a lot of the work can be reused for production.
Do #6 next.
Works like & Looks like
6. Machining, Molding, sprint runs:
These are costly, but will be the highest fidelity prototypes that can be production ready, without spending on final tooling. Machining is one-off subtractive manufacturing. Here, molding refers to limited run molds (good for ~10,000 units).
If the product requires electronics, sprint run PCBs (from #5) are done in batches as small as 5.
Share: